
| # BME680 | |
| [](https://github.com/pimoroni/bme680-python/actions/workflows/test.yml) | |
| [](https://coveralls.io/github/pimoroni/bme680-python?branch=main) | |
| [](https://pypi.python.org/pypi/bme680) | |
| [](https://pypi.python.org/pypi/bme680) | |
| https://shop.pimoroni.com/products/bme680 | |
| The state-of-the-art BME680 breakout lets you measure temperature, pressure, humidity, and indoor air quality. | |
| ## Installing | |
| ### Full install (recommended): | |
| We've created an easy installation script that will install all pre-requisites and get your BME680 | |
| up and running with minimal efforts. To run it, fire up Terminal which you'll find in Menu -> Accessories -> Terminal | |
| on your Raspberry Pi desktop, as illustrated below: | |
| 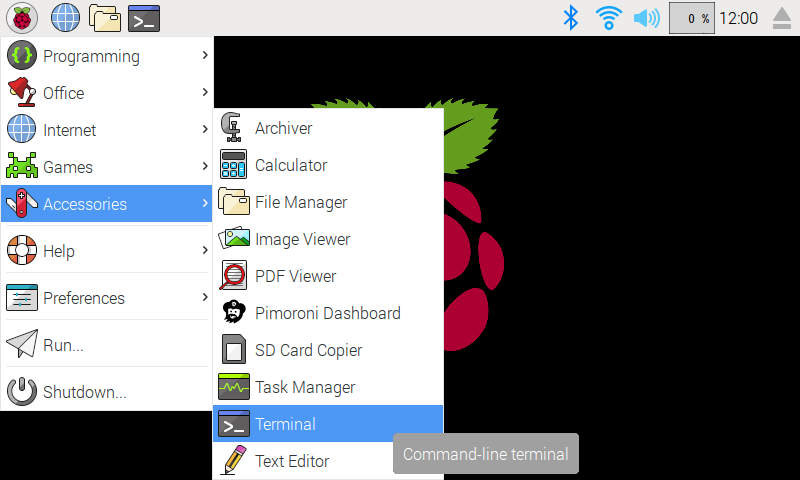 | |
| In the new terminal window type the command exactly as it appears below (check for typos) and follow the on-screen instructions: | |
| ```bash | |
| git clone https://github.com/pimoroni/bme680-python | |
| cd bme680-python | |
| ./install.sh | |
| ``` | |
| **Note** Libraries will be installed in the "pimoroni" virtual environment, you will need to activate it to run examples: | |
| ``` | |
| source ~/.virtualenvs/pimoroni/bin/activate | |
| ``` | |
| ### Development: | |
| If you want to contribute, or like living on the edge of your seat by having the latest code, you can install the development version like so: | |
| ```bash | |
| git clone https://github.com/pimoroni/bme680-python | |
| cd bme680-python | |
| ./install.sh --unstable | |
| ``` | |
| In all cases you will have to enable the i2c bus: | |
| ``` | |
| sudo raspi-config nonint do_i2c 0 | |
| ``` | |
| ## Documentation & Support | |
| * Guides and tutorials - https://learn.pimoroni.com/bme680-breakout | |
| * Get help - http://forums.pimoroni.com/c/support | |